Tuesday, May 24, 2011

Canning Bread and Butter Squash Pickles


Pickles! They're not just for cucumbers any more!

Pickling foods has been around for hundreds of years... and for good reason... it's not hard to do, it preserves the foods so well, and pickled veggies are good for us in so many ways... our digestive systems LOVE pickles.

With my squash bounty I decided to make bread and butter squash pickles (so pretty in the jar... and so tasty!) Here's what I did...


I sliced up my squash in 1/4 inch slices... 16 cups


I sliced up 4 cups of onions (I used Vidalias, but any onions will work just fine)

Pay no attention to the can of pineapple behind the salt... it was used in another project!

I measured a half cup canning and pickling salt.

I mixed my squash slices and onion slices in a large stock pot, and poured the half cup of salt over the mixture.


Then filled the pot with water to completely cover the veggies.


I covered the pot and let the brine and veggie mixture sit for at least 2 hours (I think mine went for 3 while I was doing other things).


After the brine soaking time, I drained the mixture thoroughly.


For the pickling syrup, I mixed in a large stock pot...


4 Tablespoons mustard seed


2 Tablespoons celery seed


2 teaspoons ground turmeric (so good for you and adds a beautiful natural yellow color)


I brought this mixture to a boil. Then added in my squash onion mixture (drained, remember!)


I mixed it all up thoroughly and let it simmer for 5 minutes.


Then I started filling my pint canning jars that I had washed and kept hot until I was ready for them. I filled the jars with the hot pickle mixture leaving a half inch of headspace.


I wiped the jar rims with a damp cloth.
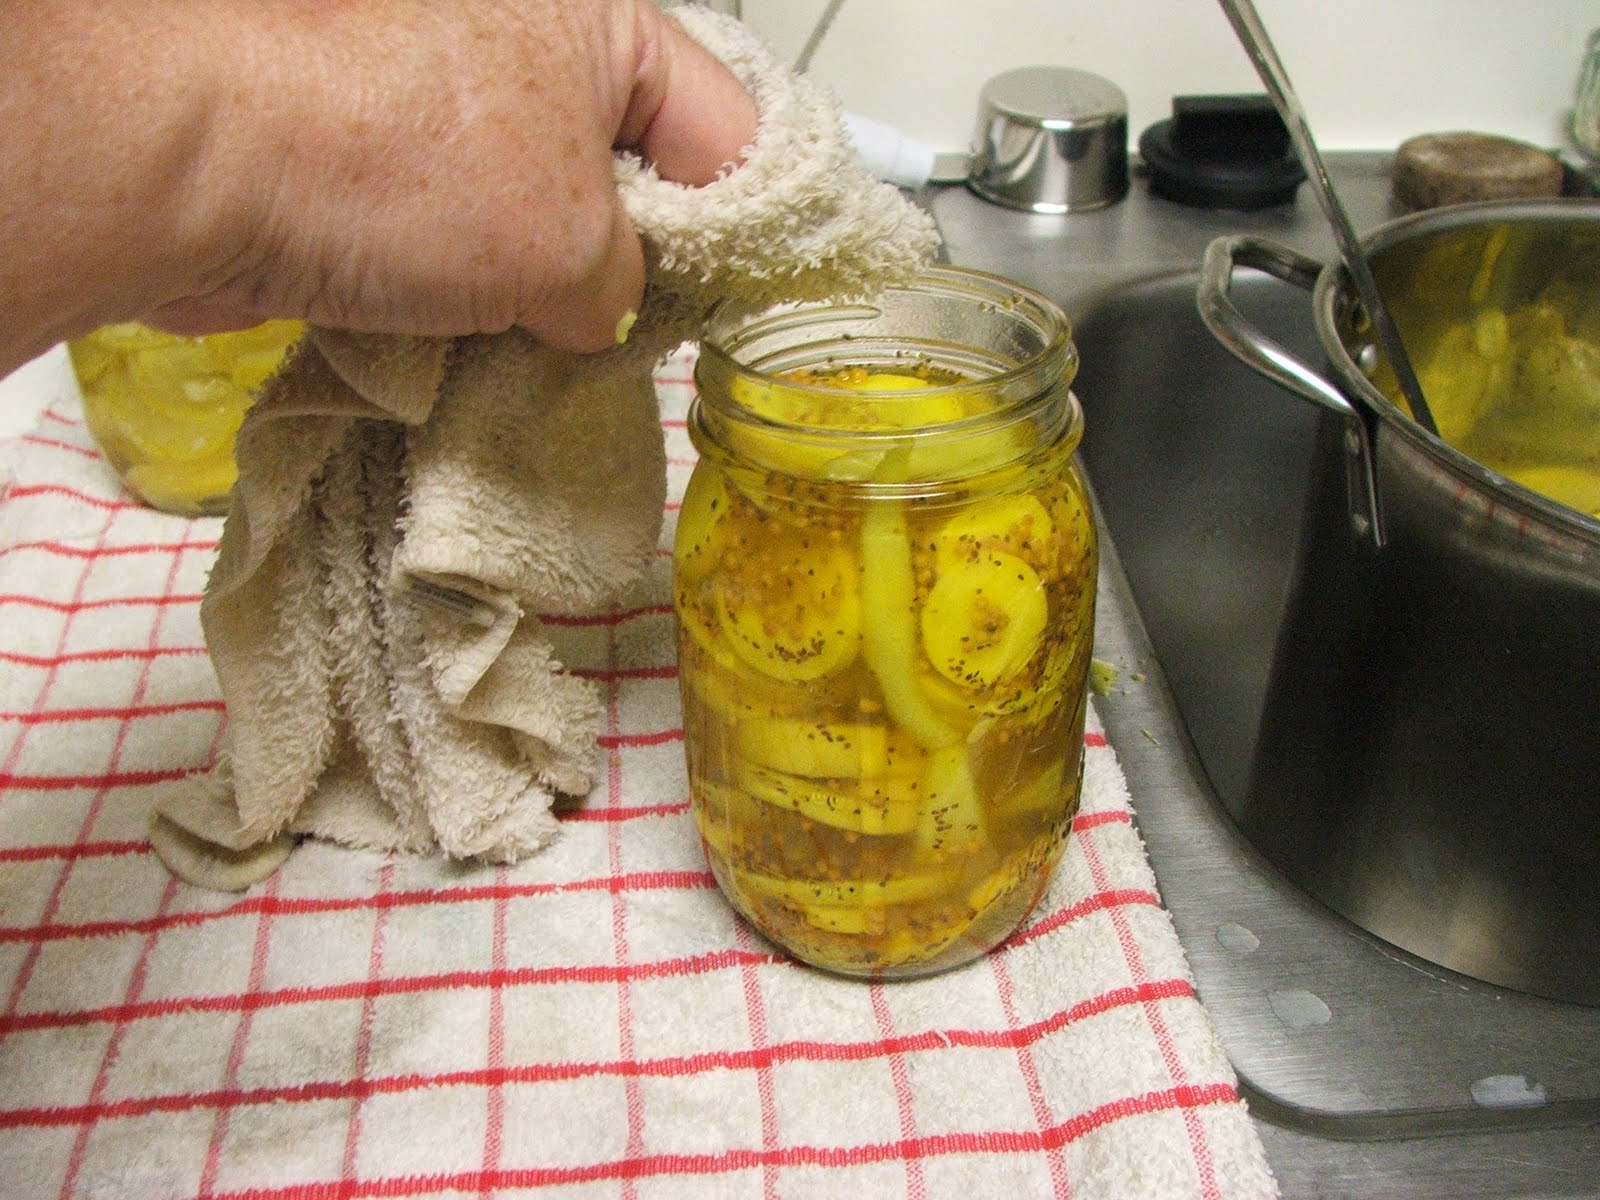

Then adjusted the hot lids and rings onto the jars to a fingertip tightness.

I love my magnetic wand gadget... so handy to have around!

I process the jars in a boiling water bath for 10 minutes.


When the processing was complete, I lifted the jars out of the water bath (with another handy gadget, my jar lifter) and set them on a folded dish towel on the counter to cool and to listen for the PING of each successfully sealed jar!

Mmmm... can't wait to have these yummy pickles with a sandwich and some chips... or with a dish of pinto beans and cornbread!


Sunday, May 22, 2011

Canning Yellow Summer Squash


Here's what my research on canning squash revealed... seems it's not like the USDA has had a huge outbreak of bacteria in home canned squash or anything, just that they can't find their documentation. I canned squash.

*Disclaimer: Recommendations for canning summer squashes, including zucchini, that appeared in former editions of So Easy to Preserve or USDA bulletins have been withdrawn due to uncertainty about the determination of processing times. Squashes are low-acid vegetables and require pressure canning for a known period of time that will destroy the bacteria that cause botulism. Documentation for the previous processing times cannot be found, and reports that are available do not support the old process. Slices or cubes of cooked summer squash will get quite soft and pack tightly into the jars. The amount of squash filled into a jar will affect the heating pattern in that jar.

I signed up recently for text alerts from the State Farmers Market and received my first one this past week... "summer squashes will be available beginning this week!" We planned a Saturday excursion to the Farmers Market. The day before our planned visit, I got a call from my son and daughter-in-law saying they were leaving early for a vacation in Florida and would be passing through our town on their way... would we like to meet somewhere and have breakfast with them as they passed through? Well, sure! We chose a spot close to the interstate so they wouldn't need to stray far from their travel route, and close to the market so we could head on over there after breakfast.

It was an enjoyable visit with the kids, filled with laughter, everybody talking at once, good food, good fellowship, hugs and happiness! We saw them on their way on down the highway, then took ourselves to market looking for squash... and squash we found! along with green peas (but that's another story for another day).

A few more errands and then back home to begin the squash adventure... Here's what I did...

First, of course, I washed my squash, giving it a good scrub in the sink.


I put my jars in the dishwasher to make sure they were clean and sterilized (my dishwasher gets quite hot).


I put my lids and rings on to simmer and stay hot until I was ready for them.


Then I sliced of the ends of the squash and cut them into about a half inch slices, cutting the slices in two on the "fat" parts of the vegetable.


I placed the sliced squash into a saucepan, covering them with water and brought the mixture to a boil.

Once my squash was heated through and beginning to soften, I started filling my hot pint canning jars with the vegetable/water mixture, leaving about a half inch headspace.


I made sure there were no trapped air bubbles and that there was plenty of liquid surrounding the squash pieces. I added a half teaspoon of canning salt to each jar.


I wiped the jar rims with a damp cloth.


Then, removing my lids using may handy dandy magnetic wand gadget, I tightened the hot lids onto the jars (fingertip tightness!)


I loaded the jars into my pressure canner and processed the pints at 10 pounds of pressure for 25 minutes (quarts would take 30 minutes). After processing, I allowed my pressure canner to cool down on its own, the pressure dropping to zero before I removed the lid and took the jars out using my jar lifter. I set the hot jars on a folded dish towel on the counter to cool and to wait for the PING of each successfully sealed jar.


There was a time in my life that I would only eat summer squash breaded and fried and that was only possible when it was garden fresh... but then I discovered Squash Casserole! Much of my store of canned squash will go toward making this yummy concoction... 

2 cups summer squash (I'll use one of my pint jars, drained... or maybe two!)
1/2 chopped onion
1 can cream of chicken soup
1 beaten egg
1 cup sour cream
1/2 cup shredded cheese
8 ounces seasoned stuffing mix
1/2 cup melted butter

Mix ingredients together and bake in a 9x13 baking dish at 350 degrees for about 30 minutes, or until onions are tender. Sometimes I add shredded carrots to the mix, just to change it up a little. Delicious!

Or... maybe I'll try a new recipe, like Summer Squash Bread...

3 eggs, beaten
2 cups white sugar
1 cup vegetable oil
2 teaspoons vanilla extract
3 cups all purpose flour
3 teaspoons baking powder
2 teaspoons ground cinnamon
2 teaspoons ground nutmeg
2 cups shredded summer squash (I'm thinking one of my canned pint jars, drained well)

Preheat oven to 325 degrees, grease 9x13 baking dish. In large bowl, using an electric mixer to beat the eggs until fluffy, beat in sugar, oil, and vanilla. Gradually mix in the flour, baking powder, cinnamon, and nutmeg, fold in squash. Transfer to prepared baking pan. Bake 45 minutes in the preheated oven until a knife inserted in the center comes out clean.

Canning Granny©2011 All Rights Reserved


Wednesday, May 18, 2011

Canning Caramelized Onions


Caramelized onions are delicious on a hot roast beef sandwich, a Philly cheesesteak sandwich, atop a baked potato, or stirred into mashed potatoes... among other things. I decided I would caramelize and can some of my Vidalia onions.

Here's what I did...

First, I peeled my onions, then cut them in half and sliced them in about 1/4 inch slices.


Then, I started melting butter in my crock pot (with the heat on high), about 2 Tablespoons of butter for every pound of onions... I had sliced 6 pounds of onions, so I melted one stick of butter...


Then sliced another stick of butter into pats to add on top when all the onions had been added to the crock pot.


I left the heat on high in the crock pot for about an hour, until the onions started sweating a little and the butter was mostly melted, then I turned it down to low and, stirring after a couple hours more, I left it to cook for about 10 hours, or overnight.


Next morning the onions were golden brown and caramelized, so I got to work on the canning process.


I heated half pint canning jars in a pan of water set across two stove eyes with a dish towel lining the bottom of the pan to keep the jars from tipping over or knocking together.


I simmered the lids and rings and kept them hot until I was ready for them.


I began ladling the onions into the jars using a canning funnel. Some recipes I have read say to drain the onions first but I like the juice too, so I left it in.


I wiped the jar rims with a damp cloth.


Using my plastic gadget, I ran it down the sides to get rid of any air bubbles (a butter knife will do the job just as well).


Then I put the lids and rings on, tightening them to finger-tip tightness.

Onions are a low-acid food and must be pressure canned unless they're made into pickles or relish using vinegar or other high-acid ingredients... there was nothing in these onions except onions and butter so I got the pressure canner out.

I processed the jars at 10 pounds of pressure for 70 minutes. (Follow the directions that come with your brand of pressure canner).

After processing I removed the canner from the heat and let the pressure drop to ZERO on its own... don't rush it, you don't want broken jars!

I removed the jars from the canner using my jar lifter and set them to cool on a folded dish towel on the counter... and to listen for the PING of each successfully sealed jar.


Yummy! Can't wait to mix them into some mashed potatoes... or, seeing as I used Vidalias, and they are sweeter than most onions, my caramelized onions will be sweet... maybe I should call it onion jam... and maybe I'll just have it on toast for breakfast!

Canning Granny©2011 All Rights Reserved


html, body, div, span, applet, object, iframe, h1, h2, h3, h4, h5, h6, p, blockquote, pre, a, abbr, acronym, address, big, cite, code, del, dfn, em, font, img, ins, kbd, q, s, samp, small, strike, strong, sub, sup, tt, var, b, u, i, center, dl, dt, dd, ol, ul, li, fieldset, form, label, legend, table, caption, tbody, tfoot, thead, tr, th, td { margin: 0; padding: 0; border: 0; outline: 0; font-size: 100%; vertical-align: baseline; background: transparent; } body { line-height: 1; } ol, ul { list-style: none; } blockquote, q { quotes: none; } /* remember to define focus styles! */ :focus { outline: 0; } /* remember to highlight inserts somehow! */ ins { text-decoration: none; } del { text-decoration: line-through; } /* tables still need 'cellspacing="0"' in the markup */ table { border-collapse: collapse; border-spacing: 0; }