Friday, September 21, 2012

Canning Nectarine Chutney


For my third Official Canbassador project, I made Nectarine Chutney using the beautiful big nectarines sent to me from the Washington State Fruit Commission. This chutney turned out SO good! Best way I can describe the taste is it tastes like a slightly sweet steak sauce... it's wonderful on pork (we ate some with pulled pork and it was yummy!) I'm sure it would go equally as nicely with chicken or beef, or any number of dishes, including the Ball recommended refried beans.


Here's what I did...
First I peeled, pitted and sliced 8 cups nectarines

I combined the sliced nectarines with 2 tsp. salt in my large stainless steel bowl and let it sit for 20 minutes.


Meanwhile, in my large, stainless steel saucepan, I mixed together...

2-1/2 cups lightly packed brown sugar


1-1/2 cups red wine vinegar


¼ cup Worcestershire sauce

I brought this mixture to a boil over medium high heat, stirring to dissolve the sugar. I stirred in the nectarines and returned the mixture to a boil, then reduced the heat and boiled gently, stirring frequently, until the nectarines were transparent, about 15 minutes.


I used a slotted spoon to remove the cooked nectarines from the saucepan and transferred them to a bowl, setting aside to add back in later.


To the mixture left in the saucepan, I added...1 cup finely chopped onions


¾ cup lime juice
2 cloves garlic, finely chopped
1 chili pepper (jalapeno, hot banana, etc.) finely chopped
2 Tbsp. chopped crystallized ginger
¼ tsp. ground cloves
¼ tsp. ground cinnamon


I brought this mixture to a boil over medium high heat, then reduced the heat and boiled gently, stirring occasionally, until the onions were tender, about 10 minutes.


I returned the nectarines to saucepan and boiled gently over medium heat, stirring frequently, until the mixture was thick enough to hold its shape on a spoon, about 20 minutes.

Meanwhile I prepared my canner, jars, and lids.


I ladled the hot chutney into hot, sterilized pint jars, leaving a ½ inch headspace. I removed any air bubbles and adjusted headspace, if necessary, by adding hot chutney.


I wiped the jar rims with a damp cloth and tightened my lids on to fingertip tightness.

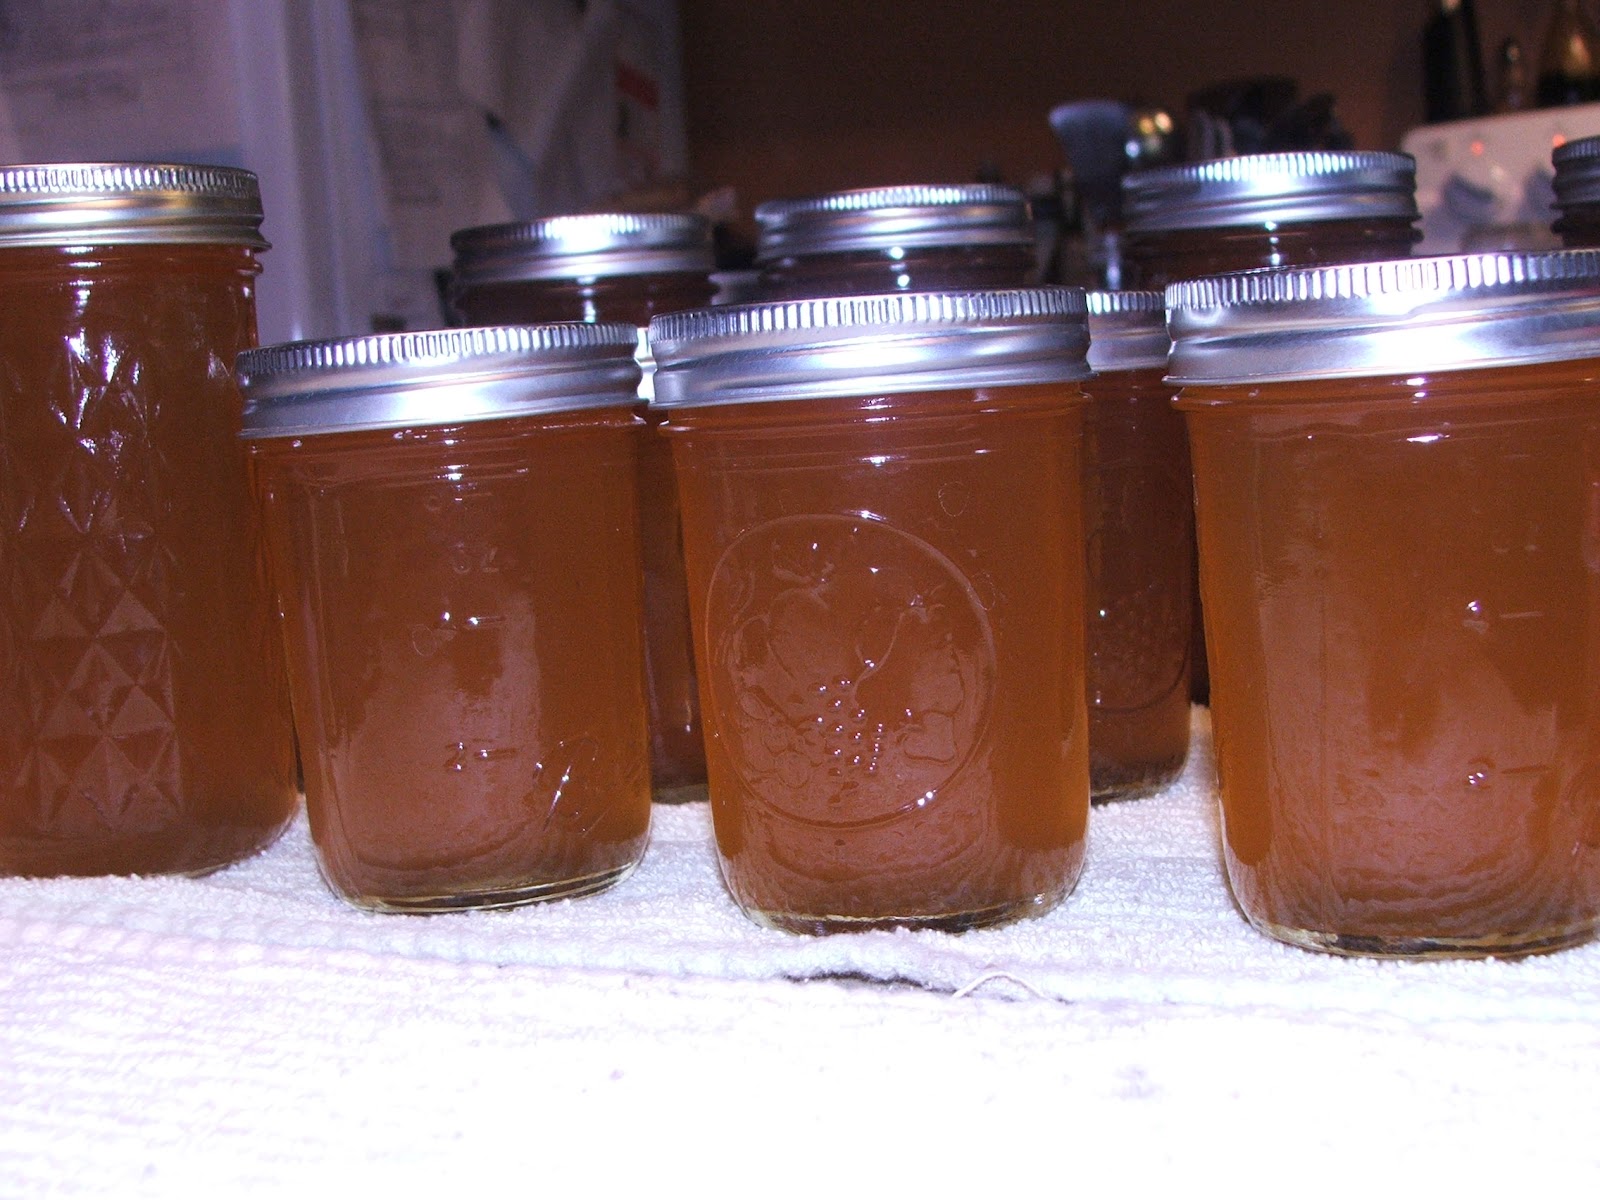
I processed the jars in a boiling water bath for 15 minutes, ensuring they were completely covered with water. I brought them to a boil and processed for 15 minutes. After processing, I removed the jars from the canner and set them on a folded dish towel on the counter to cool... and to listen for the PING of each successfully sealed jar! LOVE the PING!


For a printable copy of this recipe, click here.

Friday, September 14, 2012

Canning Spirited Peaches

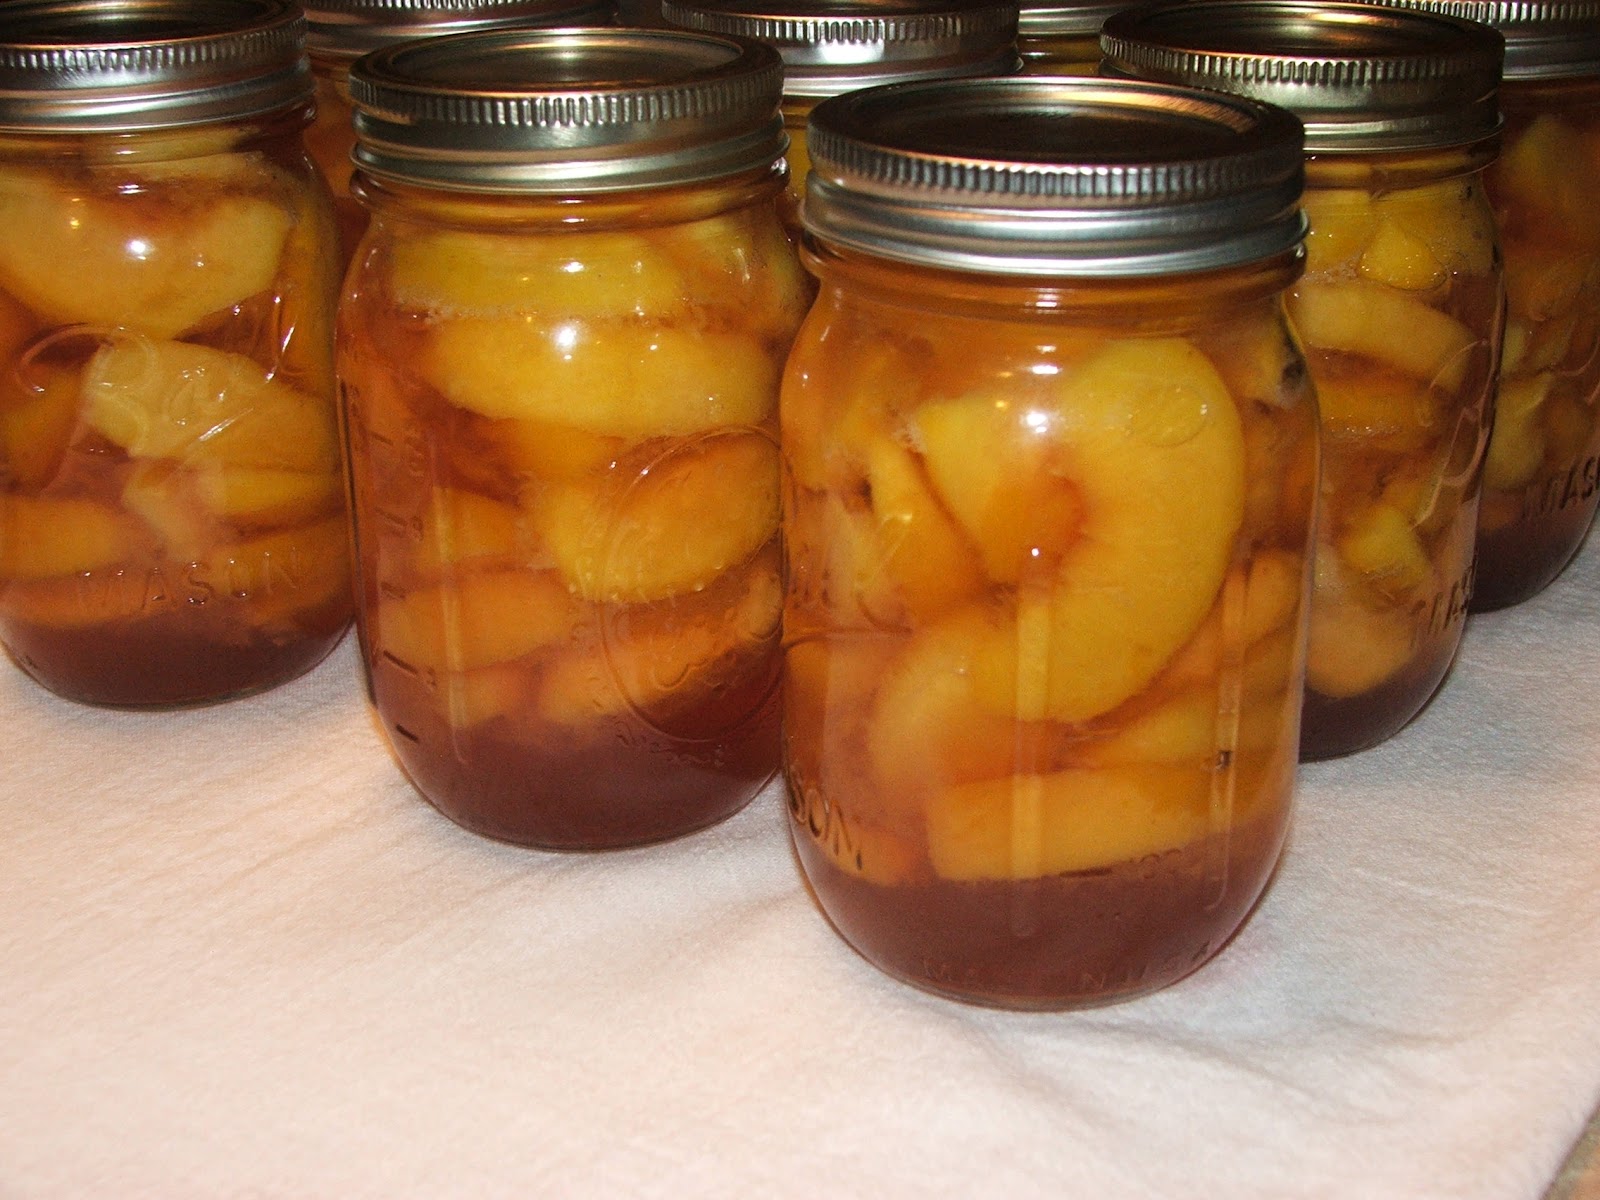
For my second canning project as Canbassador for the Washington State Fruit Commission, I chose to use my bounty of peaches to make Spirited Peaches... simple, elegant, and Oh so delicious!

Here's what I did...

I peeled, pitted and sliced my peaches (treat with Fruit Fresh or lemon juice to prevent browning)


For 7 cups of sliced peaches I mixed...

1 cup sugar
and
2 cups water

I brought this simple syrup mixture to a boil, stirring to dissolve the sugar, over medium high heat.

I then added the peaches to the syrup, brought the mixture back to a boil, lowered the heat and boiled gently for 5 minutes.

To each hot, sterilized pint jar, I added...

2 Tbsp. Brandy
1 Tbsp Peach Schnapps


Then, using a slotted spoon, I packed the sliced peaches into the jars within a generous half inch headspace. (Note: Next time, I'll add the peaches to the jar FIRST, then add the liquors... the method I used COULD have resulted in jar breakage... fortunately it didn't THIS time, thank goodness... hindsight is 20/20 you know!)


I then ladled hot syrup into the jars to cover the peaches, leaving a half inch headspace. I removed any air bubbles, then adjusted the headspace by adding more syrup if necessary.


I wiped the jar rims with a damp cloth, then tightened the lids on to fingertip tightness.

I processed the jars in a boiling water bath, ensuring they were completely covered with water. I brought the water to a boil and processed the jars for 20 minutes.

After processing, I removed the jars from the canner using my jar lifter, and set them on a folded dish towel on the counter to cool, and to listen for the PING! of each successfully sealed jar! Lovin' the PING!

There was about a cup of spirited peaches left over after filling all the jars... Mr. G and I shared them... Oh My Goodness!!! Delicious!!!!


For a printable copy of this recipe, click here.


Wednesday, September 12, 2012

Canning Nutty Plum Conserve - Suitable for any Canbassador Reception


 I recently was given the opportunity to serve as an Official Canbassador for the Washington State Fruit Commission... exciting! They contacted me via email and asked if I, as a canning blogger, would care to receive a box of Washington State fruit... they, in turn, asked if I would can it in any way I wished and then write about it in my blog. I was honored to do so. This is a part of a promotion to spread the word about delicious Washington fruit throughout the country. I was delighted to receive my box of fruit, containing nectarines, peaches, and plums, and searched for a special way to preserve this bounty.

The plums were used to create Nutty Plum Conserve... here's what I did...


I halved and pitted 5 pounds of plums


...and chopped 2 cups walnuts (pecans could be used, I had walnuts on hand)

Is this not the cutest little nut chopper!? It belonged to
Mr. G's mother and I am now proud to use it!
In a large, deep, stainless steel saucepan I combined the plums with

6-3/4 cups granulated sugar


4 cups raisins


2 Tbsp. orange zest


1/2 cup freshly squeezed orange juice (the juice of one orange)


1/4 cup bottled lemon juice


I brought the mixture to a boil over medium-high heat, stirring constantly, then reduced the heat and boiled gently, stirring frequently, until the mixture thickened (about 35 minutes).


I then stirred in the 2 cups of chopped walnuts...


...and continued boiling gently for another 5 minutes. Then tested the mixture for gel.

To test for gel stage, you can do one of three things... 1) using a candy thermometer, cook soft spread until it reaches 220 degrees F. 2) The Sheet Test... dip a cold spoon into the mixture, lift it and hold horizontally so the syrup runs off the edge, it's ready when the syrup runs off in a sheet instead of drops. or 3) Chill a saucer in the freezer and place a teaspoonful of the syrup on the saucer and freeze for one minute. Remove from the freezer and push the mixture with your finger... if it is gelled, it will be set and the surface will will wrinkle when the edge is pushed. 


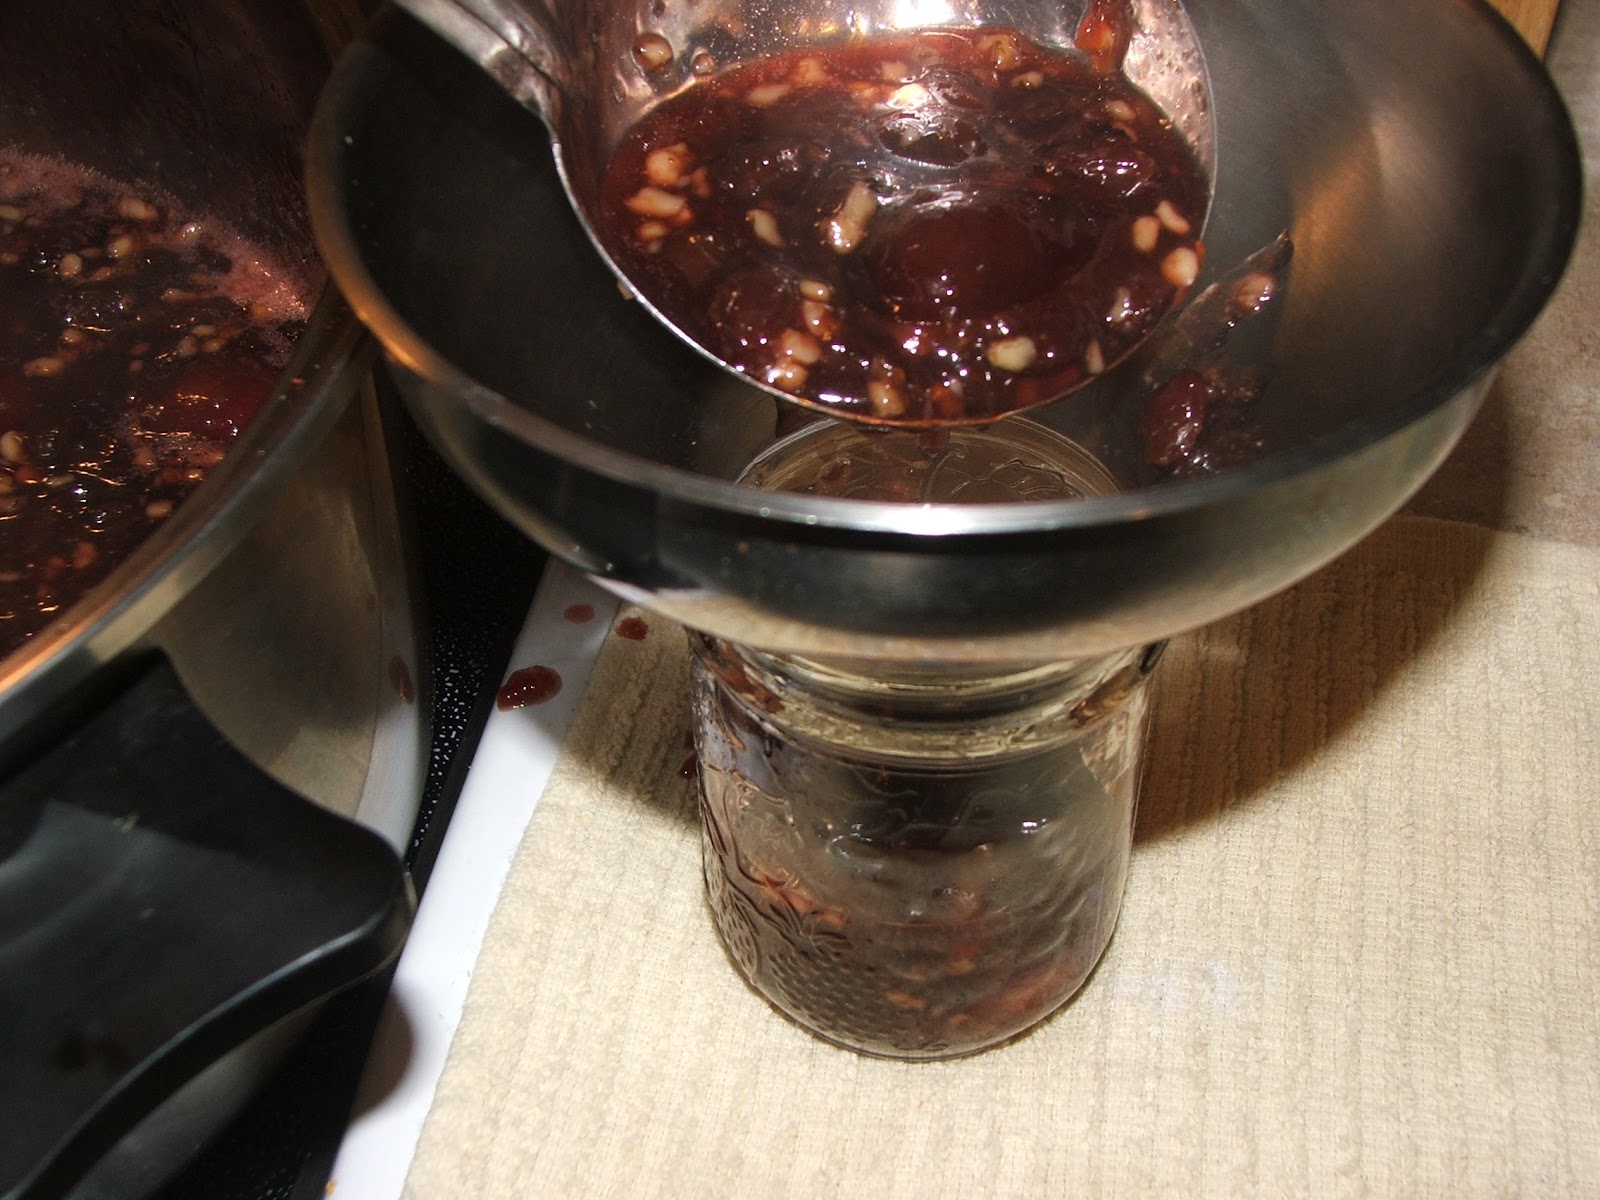
Once the mixture had reached gel stage, I began filling my hot, sterilized half pint jars, leaving a 1/4 inch headspace, removing air bubbles as necessary and adding more conserve as needed to adjust headspace. I wiped the jar rims with a damp cloth and tightened on my hot lids and bands to fingertip tightness.

I processed the jars of conserve in a boiling water bath, ensuring they were completely covered with water. I brought the water to a boil and processed for 10 minutes.

After processing, I waited 5 minutes, then removed the jars from the canner using my jar lifter and set them on a folded dish towel on the counter to cool... and to listen for the PING of each successfully sealed jar.

The recipe I used said it would make about 8 eight-ounce jars... I ended up with 10.

I took some jars of this soft spread to the ladies I work with... one of the ladies came in the next morning and told me she opened her jar to taste it... and "forget toast or a bagel! I ate about a fourth of the jar just with a spoon, it was so good!" I call that "success in canning!"


For a printable copy of this recipe click here.


Please feel free to check out the following websites and resources:

The Art of Canning - uga.edu
Culinary and Food Reception - ciachef.edu
Culinary Furniture and Reception Furniture - ucsd.edu
Reception Furniture - beyondtheofficedoor.com
Reception Furniture for Food Halls - maine.edu


For more information on the Washington State Fruit Commission go to www.sweetpreservation.com

Wednesday, September 5, 2012

Canning Pork N Beans


My garden is pretty much finished, still getting a little okra and peppers once in awhile, but nothing to can... so when I got the itch to can something recently, I headed towards my dry bean stock... Pork 'n' Beans!

Here's what I did...

I recently learned from a reader that there is an easier way to can beans than to soak overnight, cook part way and can... this is so easy and turns out so nicely, I'll never go back to the traditional way ever again!

For 8 pint jars of pork 'n' beans...

I used about 2 pounds (+ or -) of dried Navy beans...

In each hot, sterilized pint canning jar, I added

1/2 cup Navy beans (just dry, straight out of the bag! Well, actually, I DID rinse and sort through them)

I chopped two medium onions and divided them evenly among the 8 jars (something like 2-3 Tablespoons of onion per jar)

In a large stainless steel saucepan I mixed my sauce using...


2-15 oz. cans tomato sauce (you could use homemade)


1/4 cup brown sugar


3/4 teaspoons prepared yellow mustard


2 tablespoons molasses (you could use honey, corn syrup... or any other liquid sweetener)
3 cups water

I brought this mixture to a boil, stirring to make sure everything was dissolved.


I added one cup of the sauce to each pint jar of beans. At this point, 1/2 teaspoon of salt could be added to each jar, I chose to leave out the salt because I added, instead, a small piece of salt pork to each jar (fatback or bacon can be used)


Next I filled the remainder of each jar with boiling water, leaving a generous one inch headspace.

I wiped my jar rims with a damp cloth and tightened on my hot lids to fingertip tightness, then processed the jars in my pressure canner at 10 lbs. pressure for 75 minutes.

After processing, I allowed my canner to cool naturally and the pressure to drop to zero... then waited 10 more minutes before removing the weighted gauge and taking the lid off the canner.

Then I removed the jars from the canner using my jar lifter... setting them on a folded dish towel on the counter to cool and to listen for the PING of each successfully sealed jar. Yay!


Pork 'N' Beans! Great with so many things... an easy side dish for an easy quick meal!

For a printable copy of this recipe, click here.

Saturday, September 1, 2012

Canning Chicken Wing Sauce


 Down to the last tomatoes in the garden and I was looking for something yummy to make when I came across a recipe for Chicken Wing Sauce... Hmmm... sounded delicious and could be used for more than just wings... it would make a great baking sauce for chicken pieces. On with the project!

Here's what I did...

I chopped and cored

10 cups of tomatoes

and added...

2 cups chopped onion
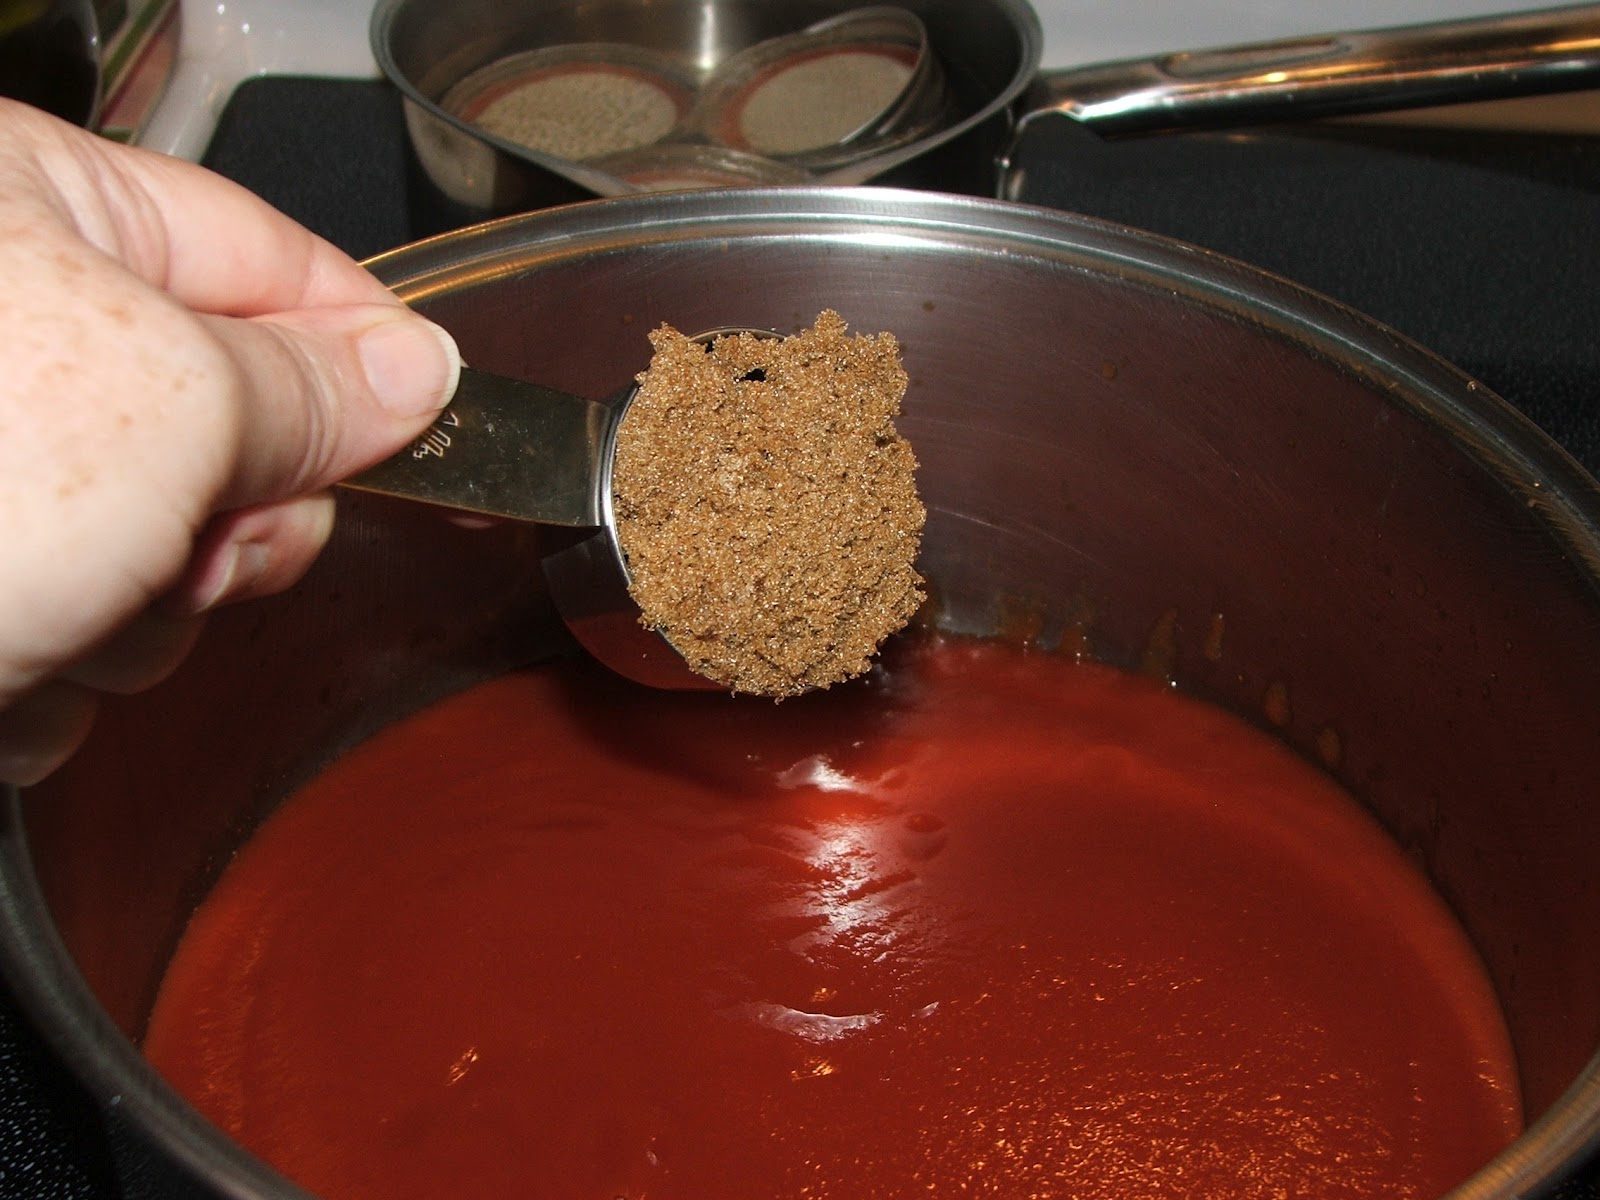
1/3 cup lightly packed brown sugar
1/2 teaspoon cayenne pepper


 I brought the mixture to a boil over high heat, stirring constantly. Then reduced the heat and boiled gently, stirring occasionally for 30 minutes. I removed it from the heat and let it cool slightly, then put the mixture through a food mill to remove the seeds and peels.


I returned the pureed mixture to my stainless steel saucepan and added...


1-1/2 cups white vinegar
4 tsp. salt
2 cloves garlic, minced
1 tsp. ground allspice
1 tsp. ground cinnamon
1 tsp. ground cloves
1 tsp. ground ginger


I brought the mixture to a boil over high heat, then reduced the heat and boiled gently, stirring occasionally until the mixture was the consistency of a thin commercial sauce (it reduced by about half), about an hour.


I ladled the hot sauce into my hot sterilized pint jars, leaving a half inch headspace. I removed any air bubbles and adjusted the headspace if needed by adding more sauce. I wiped the rims with a damp cloth, then tightened the lids on to fingertip tightness.

I processed the jars in a boiling water bath, ensuring the jars were completely covered with water, brought the water to a boil and processed for 15 minutes.

After processing, I removed the jars from the canner using my jar lifter and set them on a folded dish towel on the counter to cool, and to listen for the PING! of each successfully sealed jar. Yummy!


The recipe I followed stated it would make 8-8 ounce jars... I canned it in pints and ended up with 5 pints.

For a printable copy of this recipe, click here.

Thursday, August 30, 2012

I Made the Front Page! (with my Palm Fruit Jelly)


We jammin' in the front yard

Here I am in front of the Columbia Star office building underneath the
Pindo Palm, with what's left of a jar of Palm Fruit Jelly.
From the front page August 31 edition of The Columbia Star 

By Warren Hughes

Pam Staples remembers the long ago warmth of the country kitchen where she and the women of her family gathered for the annual ritual to preserve the summer fruits and vegetables.
The yearly practice in her grandmother’s mountain kitchen in western North Carolina was not only a culinary joy, it was also an economic habit that would ensure the large and extended family would have an abundance of vegetables, soups, and preserves from the gardens and orchards nearby to savor and sustain them in the long winter months to come.  
The resilience and resourcefulness of her grandmother, Annie Jackson Smith, are a pivotal and lasting influence in Pam’s life. When she and her husband, Hugh, set up housekeeping in Ridgeway, those memories of what a home should be served as an inspiration. Ridgeway might not have the mountain views, but the nurturing nature of her grandmother’s gardening hand and the inspired flavor of her table offerings are the same. 
“She was the best cook and homemaker I have ever known and the total pillar of the family,” Pam recalls. “She could always do absolutely everything from drying tears to milking cows, and everybody called on her for whatever the need was from a baby’s birth to a serious illness.”
 Pam also reflects her grandmother’s genetic stamp of practical thrift and economic resourcefulness. When the economy took a downward turn, and food prices rose with the price of farm to market transport, Pam was undaunted and stepped up her pace with her natural frugality to keep the pantry full of delectable offerings that would last.
One evening, when Pam was about her tasks, her husband affectionately called her “Canning Granny” in deference to her grandmother’s influence and Pam’s own natural talent. Recognizing that his wife’s gift was special and her skill a dying art, he suggested  she ought to start a computer blog to share her knowledge with others. “Hugh is my biggest supporter,” she fondly observes, and he no doubt is a most appreciative beneficiary of her efforts,  
As her devoted fan, one could say a star was born that night. Following her husband’s advice, she shared on Facebook she was starting a blog on canning and preserving. Almost immediately, there was an enthusiastic cadre eagerly accessing her posts. The numbers quickly grew into the hundreds, and today there are some 17,000 from across the world including followers from Europe, South America, and Australia as well as in the United States. 
While she reveres the values of the past, Pam, like most women, recognizes the necessity of staying on the cutting edge and possesses an impressive array of modern technology and computer skills. When she entered the job market in Columbia, she brought journalistic experience with her as a former employee of the Tryon, N.C, Bulletin, a talent quickly recognized by The Columbia Star publisher Mimi  Maddock, who hired her as assistant editor.  
Even with her daily professional responsibilities and newspaper deadlines, Pam, like her mountain forebears, always has her eye out for those environmental features she can appropriate for some practical and desirable use. The pindo palm tree at the entrance of The Columbia Star’s Shandon office did not escape her observant eye. Linda Sosbee, the financial manager, pointed out to the staff how sweet the plum-like fruit smelled. Pam’s mind immediately started spinning wondering how the fruit  would taste and what she could do with it. 
Her research revealed the fruit was non-poisonous and considered edible. If it could be done, Pam could do it. If marooned on an island as shipwrecked castaways, the survivors could only hope that someone with Pam’s resourcefulness would be among them. As Pam’s colleagues will attest, the jam that resulted from her experiment with the palm’s fruit is a sweet but tart prizewinner worthy of a blue ribbon at the State Fair.
Country biscuits brought to the office topped with the creation made for a great coffee break treat.  
With school starting, her recipe for Sloppy Joes is enticing and with cold winter nights on the horizon. Her vegetable soup mix makes for some real comfort food just like granny used to make. Find her on Facebook, her blog at http://canninggranny. blogspot.com/ or pinterest at http://pinterest.com /source/canninggranny.blogspot.com/.


And if you'd like the recipe... here 'tis...


Palm Fruit Jelly

3 quarts ripe palm fruit
6 cups water


Simmer fruit in the water in a large saucepan until fruit is softened, about 30 minutes, crushing fruit with a potato masher as it cooks to release juices.


Strain fruit through several layers of cheesecloth, discard fruit, measure juice collected.

In a large stainless steel saucepan mix:

5-1/2 cups fruit juice
1 box powdered pectin (Sure Jel)


Bring mixture to a boil over high heat. When liquid reaches a full, rolling boil add all at once...

7-1/2 cups sugar

Bring back to a full, rolling boil and boil, stirring constantly, for one minute. Remove from heat and fill hot, sterilized half pint jelly jars to within 1/4 inch of the rim. Tighten hot, sterilized lids and rings on to fingertip tightness.


Process jars in a boiling water bath... ensure jars are completely covered with water, bring water to a boil, reduce heat to a gentle boil and boil, covered, for 10 minutes. After processing, remove jars from water using a jar lifter and set on a folded dish towel or cooling rack on the counter to cool and to seal.

For a printable copy of this recipe, click here.
html, body, div, span, applet, object, iframe, h1, h2, h3, h4, h5, h6, p, blockquote, pre, a, abbr, acronym, address, big, cite, code, del, dfn, em, font, img, ins, kbd, q, s, samp, small, strike, strong, sub, sup, tt, var, b, u, i, center, dl, dt, dd, ol, ul, li, fieldset, form, label, legend, table, caption, tbody, tfoot, thead, tr, th, td { margin: 0; padding: 0; border: 0; outline: 0; font-size: 100%; vertical-align: baseline; background: transparent; } body { line-height: 1; } ol, ul { list-style: none; } blockquote, q { quotes: none; } /* remember to define focus styles! */ :focus { outline: 0; } /* remember to highlight inserts somehow! */ ins { text-decoration: none; } del { text-decoration: line-through; } /* tables still need 'cellspacing="0"' in the markup */ table { border-collapse: collapse; border-spacing: 0; }