Sunday, August 4, 2013

Jar Labels... A Review


Awhile back the great folks at www.pantryparatus.com sent me a sample package of their Modern Harvest home canning labels for me to try...

I set them aside and, well, honestly... forgot I had them.

Came across them recently and decided to give them a try... and am I glad I did!

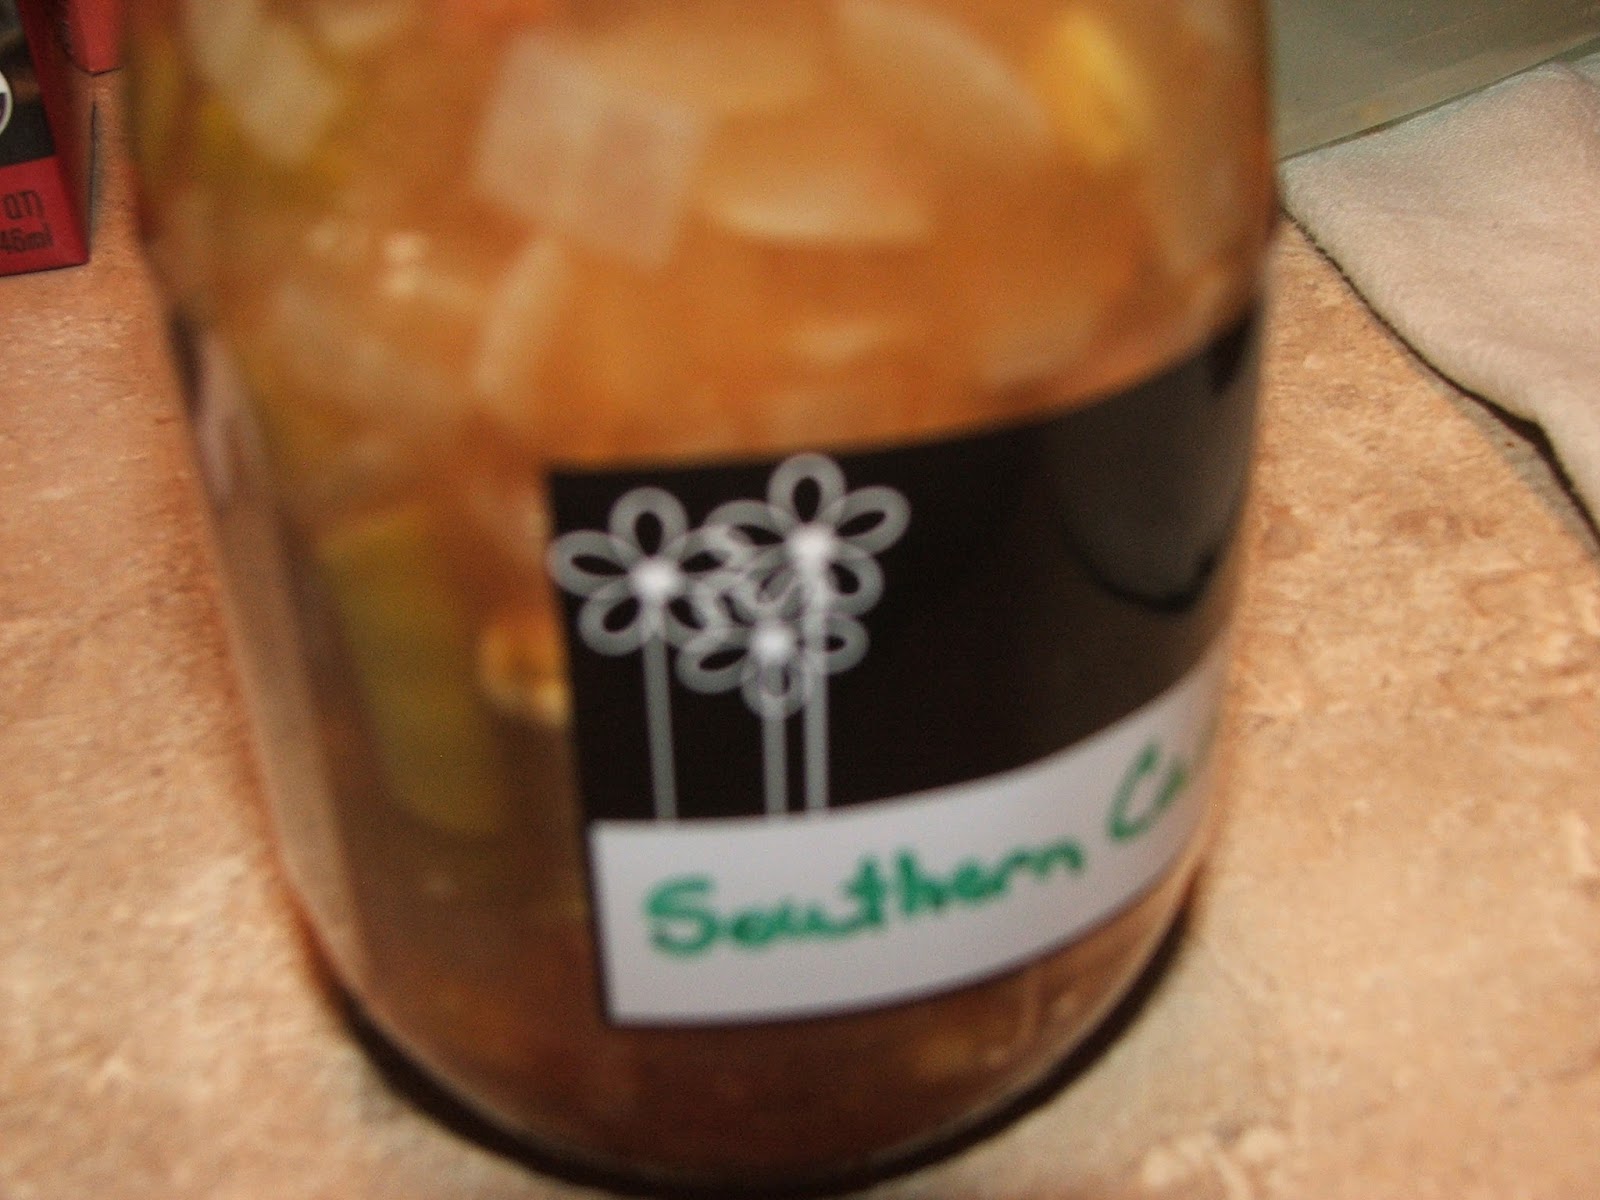
I received the flower design labels which included 12 each of quart, pint, and half pint sizes... they can be found here. PantryParatus also offers several other styles of labels... (head on over there and check them out!)

So, basically here's what you do with these great labels...

Can your food like normal and let the jars cool...

Then...
Heat a pot of water to boiling (or, like I did... if your hot water bath water is still hot, just use it)

Choose the size label you need (I used the pint size) and with a Sharpie (black would probably be better, I couldn't find black) write the jar contents on the label...


on the flip side of the label you can check off the month and year... and there's even a space to fill in later when you open the jar...


Slip the label from the top or bottom of the jar towards the center and just adjust it until it sits where you want it... it'll fit loosely...


Now here's the fun part... the magic!!!!

Pick your jar up using your jar holder (canning tongs) and carefully dip the jar(s) into the hot water...


The label will immediately shrink to fit the jar (unless the water isn't hot enough... if that's the case, heat the water back up and try again)


Like magic! Like Shrinky Dinks! Like Shrink Wrap!!!


After you're done with the jar of goodies, just carefully slide a knife under the label and twist to break the label loose... no more gummy glue, sticky residue... and they're cute enough for gift giving!
I love them!!!

Thank you PantryParatus!

www.pantryparatus.com

Thursday, July 4, 2013

A 50s Housewife Shower


 I wanted to throw my daughter a shower but wanted something a little different... and fun. Knowing other friends and family had plans for traditional household, lingerie, and other showers... I came up with a 50s Housewife Shower... the gift requests would be kitchen gadgets, dish towels, aprons, etc. and an old fashioned "Pounding" (to help stock the newlyweds pantry with non-perishable foods, paper products, etc.)

The planning began... I made the above invitation... and settled on a turquoise and red color scheme. In each invitation, I enclosed a blank recipe card and directions to my house... I got a recipe box to have for each guest to put their recipe for an added gift for my daughter, Hannah.

I found an entire 1955 Sears catalog online in pdf format and printed out 8x10 pictures of some of the ads to frame as decorations for the party... and conversation pieces. I also found photos and prices of grocery items, houses, cars, etc. in the 1950s and framed those. Found pictures of 1950s sitcom couples to frame as well.

I made the photo below (using PhotoShop) to go with a vase of flowers for a table centerpiece...


For the menu I wanted typical 1950s food... I chose...

Jello Mold with Fruit Cocktail
Cupcakes
Meatloaf "Cupcakes" with Mashed Potato "Frosting"
Pigs in a Blanket
Deviled Eggs
Cheese Ball and Crackers (recipe)
Butter mints and mixed nuts
Frosted Sandwich Loaf (I used a variation of this recipe)
Pimento Cheese, Egg Salad, and Chicken Salad (served on homemade yeast rolls and croissants)
Tuna Noodle Casserole
Veggie Tray with Dips (I made Confetti Dip and Sharp Cheddar, Olive, and Pepper Dip)
Fruit Tray with Dip (I made a simple 1950s fruit dip, mixing 8 ounces marshmallow cream with 2 Tbsp. frozen orange juice concentrate, thawed)

The food table
While looking for a way to construct myself a cute 1950s hat to wear, I found several sites showing how to make "fascinator" hats... I decided to make one for myself, my daughter and my daughter-in-law... it became an addiction and I ended up making 24 little hats... I had enough for all the party guests!


The day for the shower arrived...

On my back porch I filled a huge galvanized steel washtub with ice and retro-sodas in glass bottles I found at World Market (vanilla ice cream was on hand for ice cream sodas as well)


We (I had a LOT of help from my sister, Beth, and my daughter-in-law, Kaila) made iced tea and lemonade and put the makings for Mimosas on ice.


We put on our best 50s duds and waited on our guests to arrive...

My sister, Beth, and me in our 50s attire
As each guest arrived, Kaila had them bend over without bending their knees, and trace their hand on a piece of paper... while I secretly wrote down their comments as they struggled to complete this task... later on we read the comments out loud as "Things that were said on the guest's wedding night, or things they recommended to be said on Hannah and Nick's wedding night"... this activity proved to be hilarious... A few comments that were recorded included:

"I don't think I can do this, make Mama do it!"
"Can you bring it up a little... Ouch! Ouch! Ouch!"
"Is that the only way to do it or is there a clever way?"
"This is hard, I can't do this, I'm not that limber!"
"My back will not allow that!"
"If I mess up, can I do it again?"
"Are you sure?"

We directed the guests to the "powder room" all decorated with the fascinator hats and had them pick out and don a hat of their choice.

Fun times!

We ate... and drank... We have music channels on our satellite television so we turned it to "Malt Shop Favorites" and had 50s music playing in the background... there was a lot of impromptu dancing... how can you NOT dance to "C'mon Baby, Let's Do the Twist?!?"


We played old fashioned 1950s shower games...

"Plant a Kiss on Elvis" (like Pin the Tail on the Donkey
But with red lipstick and an Elvis poster

Sniff a Spice game...

Common household spices were placed in bags and tied loosely
with ribbon so you could smell them but not see them.

A relay race putting on stockings while wearing oven mitts...

We had three teams... Team 1 were the winners!

Game prizes included homemade aprons... super cute (but I forgot to take a picture of any of them!)

We took the "Are You Ready to be a 50s Housewife" quiz and the "Are You a Good 50s Houswife?" quiz... these evoked laughter as well as groans of disbelief!

I made Hannah a corsage made from measuring spoons, a mini-whisk, and an adorable mini food grater (I found at World Market)


We played the Clothes Pin Game... (everyone was given a clothes pin and instructions not to say the words "wedding" or "marriage"... if you heard someone say one of the "no-no" words, you could take their clothes pin... person with the most clothes pins at the end of the party won a prize.


My niece Cassie in her poodle skirt

Hannah looking all cute and stuff

Lovely ladies in their fascinators

Precious daughter-in-law who was my right hand!

Paige in all her cuteness!

Opening gifts

My sister Beth and cousin Jenny in their 50s finery


Fun times!

That fish is NOT on Sara's hat!

The "Aunts" enjoying the day... too fun!

Hannah and Me!


Sweet, beautiful Kaila

My sister and me hamming it up for the camera

Great day, good food, fun times... LOTS of laughs... and Hannah got a LOAD of useful, thoughtful, creative, and great gifts.


Thursday, June 27, 2013

Canning Lamb


 Just after the Easter/Passover season I bought a nice-sized leg of lamb... regular price $60 plus... for $18! I brought it home and put in the freezer... it was probably 8-10 lbs. and there are only the two of us... thought I'd save it for company... or can it.

Now with this shower for my daughter coming up and berries coming in and needing the freezer space... I pulled it out the other day and thawed it...

I decided to cook it in our smoker... I salted and peppered it... added a variety of herbs (rosemary, mint, thyme, oregano, basil) to my smoker's water pan... set the temp to 250 and the time to 8 hours and let 'er smoke... adding chips (I used Jack Daniels whiskey barrel chips) every hour or two.

Due to our schedules and such, we weren't gonna get all that lamb eaten any time soon so I canned it...

First, I removed all the meat from the bone and cut it into stew sized chunks, taking care to remove any excess fat and gristly pieces.

Then I boiled my wide-mouth pint jars and put my lids on to simmer.


 I packed the jars pretty loosely with the chunks of lamb, leaving a good inch or more headspace.


I added a half teaspoon of canning salt to each pint jar (optional of course!)


Then I filled the jars with boiling water, leaving an inch headspace.


 I removed any air bubbles using a plastic chopstick and adjusted the liquid if necessary.


I wiped the jar rims with a damp cloth and tightened my lids on to fingertip tightness (no tighter or you can end up with buckling lids!)

I then processed the jars in my pressure canner at 10 lbs. pressure for 75 minutes (quarts would process for 90 minutes).

After the processing time, (I gotta be honest here!) it was time to leave for work so I turned the stove off and left the canner to cool naturally while I was gone for the day.

When I got back home, I removed the jars from the canner and set them on a folded dish towel on the counter... they'd already cooled AND PINGED!!! while I was gone so I missed the music! But they all sealed!

I ended up with 7 pints of lamb chunks... lamb stew this winter??? I think so!

And now I have this lovely meaty lamb bone left... I'm thinking I'll try making a little lamb broth outta that.


Canning Green Beans

I was recently offered a bushel of green beans by my friend Brenda... beyond excited, I jumped on them! I didn't get any green beans canned last year and was determined to can some this year no matter what. Brenda's husband grew these beans and they were gorgeous, practically blemish-free, and a joy to work with.

Green beans are the first things I learned how to pressure can... My Mama's goal every summer was to can at least 100 quarts of green beans... since I can remember, I've been a part of stringing, breaking, and canning green beans... at my Nanny's house under the apple tree... in my Mama's kitchen with the fan blowing on us (before air conditioning... yes I AM that old!)... green beans were a staple where I grew up.


I put a good movie on (Driving Miss Daisy!) and set to work breaking beans...

After I got them ready, I gave them a good wash.


 Then covered them with water in my big stock pot and blanched them (brought the water to a boil).


I filled my quart jars with beans (I had boiled my jars and had my lids simmering by this time), packing them down lightly and adding cooking water to cover, leaving about an inch headspace. I removed any air bubbles using a plastic chopstick.

I  added a teaspoon of salt to each quart jar (this is optional) then tightened on my hot lids to fingertip tightness.


I processed my green beans in my pressure canner at 10 lbs. pressure for 25 minutes (pints would process for 20 minutes).


After processing, I let the canner cool and the pressure drop to zero naturally... hurrying the cooling can result in jar breakage or lid buckling... gotta let it cool slowly.

Then I removed the jars from the canner and set them on a folded dish towel on the counter to cool... and to listen to the PING! of each successfully sealed jar.

From my bushel of Italian Roma Green Beans I got 18 quarts of canned
beans... and enough left over for supper... YUMMY!!! 

Friday, June 7, 2013

Friday Funny... Purple Underwear


I am not always canning... I do other stuff too! Sometimes I sit in our little kitchen at work and eat lunch with the other ladies I work with... and sometimes the conversations go in unexpected directions...

So...

I thought I'd share an occasional "Friday Funny."

You may find it amusing... I know I did...

A woman I work with was talking about the color purple... which led to her telling us about an elderly lady she goes to church with who wears purple all the time... Purple dresses, purple skirts and blouses, down to purple shoes and purple handbags... she's never seen her in any other color...

She wondered aloud, "I wonder if she even wears purple underwear?"

Someone said... "Why don't you ask her"

Someone else said... "or lift up her skirt and look real quick..."

Someone else added... "or trip her and make her fall and then you can look..."

Yet another person mused... "or wear mirrors on top of your shoes..."

Then someone said... "you have ALL these options... there's no reason NOT to find out!"

By this time we were laughing hysterically, tears rolling down our cheeks...

Important things... discussed over turkey sandwiches and tuna salads...


Friday, May 31, 2013

Canning Mayonnaise


I've been asked the question "Can you can mayonnaise" many times... I've asked that question many times myself...

The answer, in a word, is "No!"

Where I come from, there's only one commercial brand of mayo worthy of use... and the best lunch you can ask for on a summer day is a 'mater sammich using a tomato fresh out of the garden with salt, pepper, and Duke's Mayonnaise! When my sister lived "up north" in New Jersey for several years, my mom bought Duke's by the gallon and any time they went up to visit, she took my sister a few gallons... we're THAT dedicated!

But, back to canning mayonnaise... "Why can't you can it?"

First, we need to talk about exactly what mayonnaise is... (trust me, I've researched this... I was DETERMINED there HAD to be a way to can mayonnaise!)

"Mayonnaise is an emulsion of vegetable oil in lemon juice stabilized by the molecule lecithin, found in egg yolks. Mayonnaise does not taste all that oily even though most of it is oil. This is because every molecule of oil is surrounded by a microscopic amount of lemon juice. Thus, it is important to remember that mayonnaise is not a small amount of lemon juice blended into oil, but is instead, a large amount of oil blended into a tiny amount of lemon juice.

The key to making mayonnaise is to avoid having the components of the emulsion separate back into the components. In cooking, this is called breaking. No matter how much you mix the oil and lemon juice together, it will always separate (break) into a gooey mess unless you include the egg yolk as a stabilizer. The lecithin in the egg yolk acts like detergent in dissolving both the oil and the lemon juice components. This is what keeps mayonnaise fluffy."

But... but... but...
How do commercial mayonnaise-makers can their mayonnaise?

They don't... 

Commercial Mayo isn't "canned," it is put in a jar and capped. Even the health seals are not from canning but an added assurance against tampering.

But... but... but...

Can't mayonnaise that's been left out of refrigeration cause food poisoning?

Ummm... No!

Commercial mayonnaise and mayonnaise dressings are prepared using pasteurized eggs that are free of Salmonella and other types of bacteria. Ingredients in the product such as vinegar and lemon juice provide a high acid environment, which slows or prohibits entirely the growth of these types of bacteria. Salt, another ingredient in commercial mayonnaise also acts to quell the growth of bacteria. Many of the foods used with mayonnaise such as tuna, ham, chicken, and potatoes are more prone to bacterial contamination than mayonnaise itself.

Commercial mayonnaise is actually shelf stable. Commercially made mayo has an additional ingredient which "binds" the mayo even if it is left out on the counter for quite a while; that component is known as EDTA. It is present in most if not all commercial mayos.

Just what is EDTA? It stands for ethylenediaminetetraacetic acid (for more information on EDTA, check here... http://www.eatingrealfood.com/articles/edta-a-preservative-in-your-mayonnaise/

So...

If you make your own mayonnaise, what will happen if you try canning it?

Well, I'll tell you...

The emulsifying job that the egg does in binding the oil and lemon juice (or vinegar) together will be compromised... the egg will cook and the oil and lemon juice (or vinegar) will separate and you'll have an ugly, globby mess!

Separated (attempted water bath canning) mayonnaise
From http://www.rural-revolution.com/2010/04/canning-mayonnaise.html


My suggestion is this... make your own mayonnaise a small batch at a time... keep the ingredients (separately) on hand and whip up a bowl full once a week or so... it'll keep for a week or two in the fridge... and it doesn't contain EDTA or any other preservatives. This has worked great for me since I've been on this Candida Diet and most commercial mayonnaises contain sugar and/or soy oil (both big no-no's on the diet)... I can make my own and leave out the sugar... use olive oil and it tastes SO yummy I could eat it with a spoon! And I'm not a big mayo lover unless it's mixed in something or on a tomato sandwich!

My friend over at Joybilee Farms posted a great "fail-proof" mayonnaise recipe that is simple and yummy...


MAYONNAISE FROM SCRATCH

(Makes 1 cup, 250ml)
Time: 5 minutes with a stand mixer
Let’s start with a bowl, and a mixer or a whisk and one large farm fresh egg.
1 egg yolk, reserve the egg white for another recipe
1 tbsp. lemon juice or cider vinegar
¼ cup olive oil plus ½ cup olive oil (total ¾ c.)
½ tsp. Dijon mustard
¼ tsp. Himalayan salt

Mayonnaise is an emulsified mixture of oil and water.  You need the acid of the lemon juice or vinegar mixed with the egg yolk to act as the emulsifier.  Don’t try to use a whole egg with this recipe.  You’ll have a mess on your hands.  You just want the yolk.
Use the best quality of virgin olive oil that you can find.  You don’t need much and good quality olive oil has many health benefits.  Use farm fresh, organic, free range eggs.  The eggs remain raw in mayonnaise, so your best bet is to raise your own, or to get your eggs from a local farmer that you know well.   Factory farmed store eggs are likely to have salmonella contamination.
Take the egg yolk and the lemon juice and beat them together well.  Then while beating with the whisk by hand or mixing with your mixer, drizzle in the first ¼ cup of olive oil, 1 tbsp at a time into the egg-lemon juice mixture.  The mixture will begin to thicken.  Add the oil very slowly while you whisk, making sure that you whisk the oil in completely before adding additional oil.
Your mixture will begin to come together and lighten in colour.  Add the mustard and salt and continue beating.  Once the mixture begins to thicken, slowly drizzle the final ½ cup of oil into the centre of the mixture, beating to incorporated all the oil as you pour.  Stop the beaters and scrape the side of the bowl if necessary to incorporate all the oil, before drizzling more in.
If you are using farm fresh eggs, your mayonnaise will be a golden yellow colour.  It will be very thick and ready to use as soon as it thickens.  Refrigeration will thicken it further.  It will stay fresh for a week if kept refrigerated.  Recipe may be doubled, but don’t make more than you can eat in a week.

html, body, div, span, applet, object, iframe, h1, h2, h3, h4, h5, h6, p, blockquote, pre, a, abbr, acronym, address, big, cite, code, del, dfn, em, font, img, ins, kbd, q, s, samp, small, strike, strong, sub, sup, tt, var, b, u, i, center, dl, dt, dd, ol, ul, li, fieldset, form, label, legend, table, caption, tbody, tfoot, thead, tr, th, td { margin: 0; padding: 0; border: 0; outline: 0; font-size: 100%; vertical-align: baseline; background: transparent; } body { line-height: 1; } ol, ul { list-style: none; } blockquote, q { quotes: none; } /* remember to define focus styles! */ :focus { outline: 0; } /* remember to highlight inserts somehow! */ ins { text-decoration: none; } del { text-decoration: line-through; } /* tables still need 'cellspacing="0"' in the markup */ table { border-collapse: collapse; border-spacing: 0; }